
Renovating Your Apartment? The 9 Wires to Run Before the Walls Close (Smart Home Prewire Checklist)
Run nine wires before the walls close on an apartment renovation. Cat6a to every TV spot. Cat6a to each Wi-Fi access point. In-wall rated speaker wire to every speaker. A subwoofer line. A conduit from each TV to the nearby media cabinet or in-room equipment spot. Power and control wire for motorized shades. Cat6 to every keypad and thermostat. Cat6 to the front door and intercom. And one empty conduit from the service entrance to the network closet for whatever comes next. This is the wiring plan that supports lighting control, audio, video, cameras, shades, and a solid network for years. It is a complete system, not a pile of gadgets. Cable costs almost nothing while the walls are open. Opening finished plaster or concrete to add it later costs hundreds of dollars per line.
⚡ QUICK SUMMARY
The prewire rule: wire is cheap, walls are not. A Cat6 line in open framing costs about $80 to $350 per drop nationally (most pay $150 to $200). The same run through finished NYC plaster or concrete costs $500 to $600 per Cat6a drop in our own installs. A full wiring package for a home averages $2,800 nationally ($1,200 to $6,000). Pull the nine wires below during the renovation and you never open a wall for smart technology again. Lighting, audio, video, cameras, shades, and network all ride on this plan.
The most expensive sentence in a renovation is "we can add that later." Later means holes in new plaster, a painter coming back, and a co-op alteration agreement that already closed. This is the smart home prewire checklist we hand to architects, builders, and general contractors before the rough-in inspection. Print it. Give it to your GC. Then call us to walk the space before you start framing.
Home Theater Advisors has done smart home and audio-video prewire in New York City since 2011. We have over 500 installs across Manhattan, Brooklyn, Queens, and Central New Jersey. Every smart home system we install is wire-free on the outside. Lighting, audio, video, and network all count as one system to us. That only works if the wiring went in on the inside at the right time, with a plan and a checklist.
Why Prewiring Before Drywall Matters More in NYC
In a suburban house, a missed wire can go through the attic or the basement. New York apartments have neither. Above your ceiling is your upstairs neighbor. Below your floor is the neighbor downstairs. The only pathways are inside your own walls and ceilings. Once those close, every new cable means a hole, a chase, or a surface raceway. A wireless device is the fallback, and wireless is what fails first in these buildings.
The walls fight you too. Pre-war buildings have plaster over metal lath or wire mesh. Post-war towers are poured concrete. New buildings have metal studs, glass walls, and stone that needs a specialist to cut. Fishing wire almost always means holes, and we do not patch or paint. Install the wiring during the renovation and none of that happens.
$80 - $350
national cost per Cat6 drop in open framing, versus $500 to $600 per Cat6a drop through finished NYC walls
One and Done Prep 2026 cost guide; HTA 2026 install pricing
The Smart Home Prewire Checklist: 9 Wires to Run Before the Walls Close
1Cat6a to every TV location (at least three runs each)
One for the TV, one for the streaming box or game console, one spare. Streaming boxes, game consoles, and the TV itself all work better on wire than wifi. Cat6a handles 10 gigabit speeds, so it outlasts the renovation. Land both at the equipment location. Video devices are the biggest network users in the home.
2Cat6a to each Wi-Fi access point location
Ceiling-mounted access points are how you get strong wireless coverage in a plaster or concrete apartment. Every wireless device in the home leans on this wired network. Plan one per 1,000 to 1,500 square feet of open space, more if walls are concrete. We install Access Networks access points on Cat6a for the whole home network. See our guide to why Wi-Fi is slow in NYC apartments for the layout logic.
3In-wall rated speaker wire to every speaker
Audio is the part people regret skipping. Use CL2 or CL3 rated wire, which the electrical code requires inside walls for safety. 16 gauge works up to about 50 feet to an 8 ohm speaker; use 14 gauge for longer runs or ceiling speakers on the far side of the apartment. Zip cord from a hardware store spool is not in-wall rated.
4A subwoofer line to the media room
One RG6 coax or a shielded audio cable from the equipment location to the corner where the sub will live. Wireless sub kits exist, but a wire never drops out during the movie. Same idea for a future outdoor patio or terrace speaker: pull the wire now.
5Conduit from each TV to the nearby media cabinet or in-room equipment location
A 1.5 to 2 inch flexible conduit (smurf tube) with a pull string. HDMI standards change every few years. Run it from the TV wall to the media cabinet or equipment spot in that same room, not all the way back to the closet. With conduit, the next video cable pulls through in minutes instead of opening the wall. Short pathways like this are the cheapest future proofing in the whole project.
6Power and control wire for motorized shades
Hardwired shades are quieter and never need batteries. They also tie into the lighting system, so one keypad button controls both. Lutron's wired shades run on low voltage (12 or 24 volts DC, depending on the line). The wire is CL2 rated cable back to a power panel. That panel needs regular power. Pick the shade brand early. The head rail and the wire spec go together.
7Cat6 to every keypad, touch panel, and thermostat spot
Lighting control keypads, a touch panel by the front door, and thermostats all want a wire. Smart lighting is the most used system in a smart home, and wired keypads never need a battery. Run Cat6 to each box now, even if you start simple. It costs a few dollars of cable and saves a wall later.
8Cat6 to the front door and intercom
Video doorbells, door stations, security cameras, and building intercom upgrades all sit on network cable now. One Cat6 line to the entry, one to the intercom panel location, and one to any spot where cameras may go. Security devices work best wired.
9One empty conduit from the service entrance to the network closet
The wire you do not know you need yet. An empty 1 inch conduit with a pull string from where the internet enters the apartment to the network closet is the cheapest insurance in the whole renovation. A new provider, a fiber upgrade, future anything: this is the pathway. We keep it to this one run on purpose. Pulling conduit from the closet to every TV rarely works in an apartment; there are too many turns.
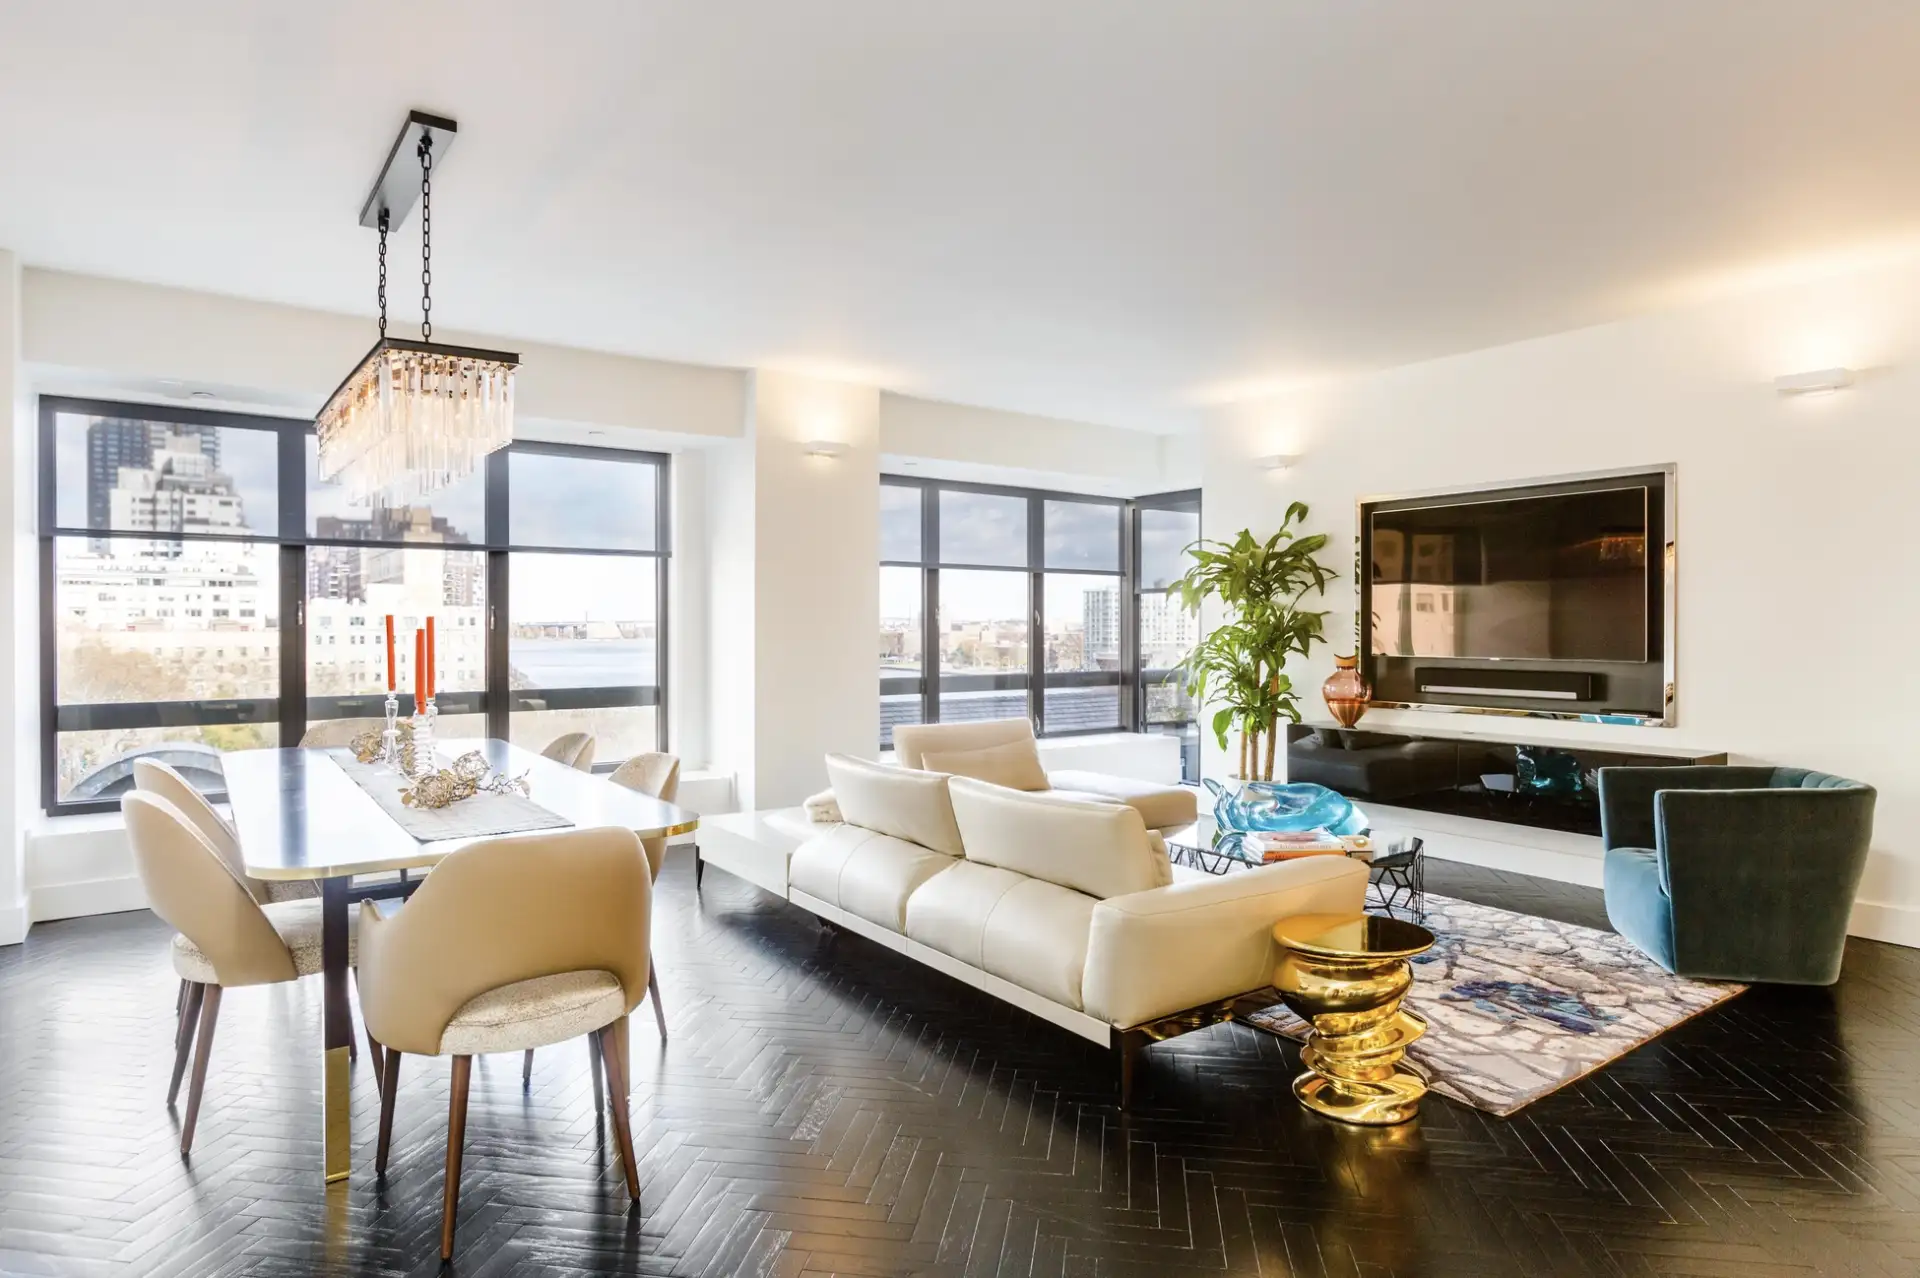
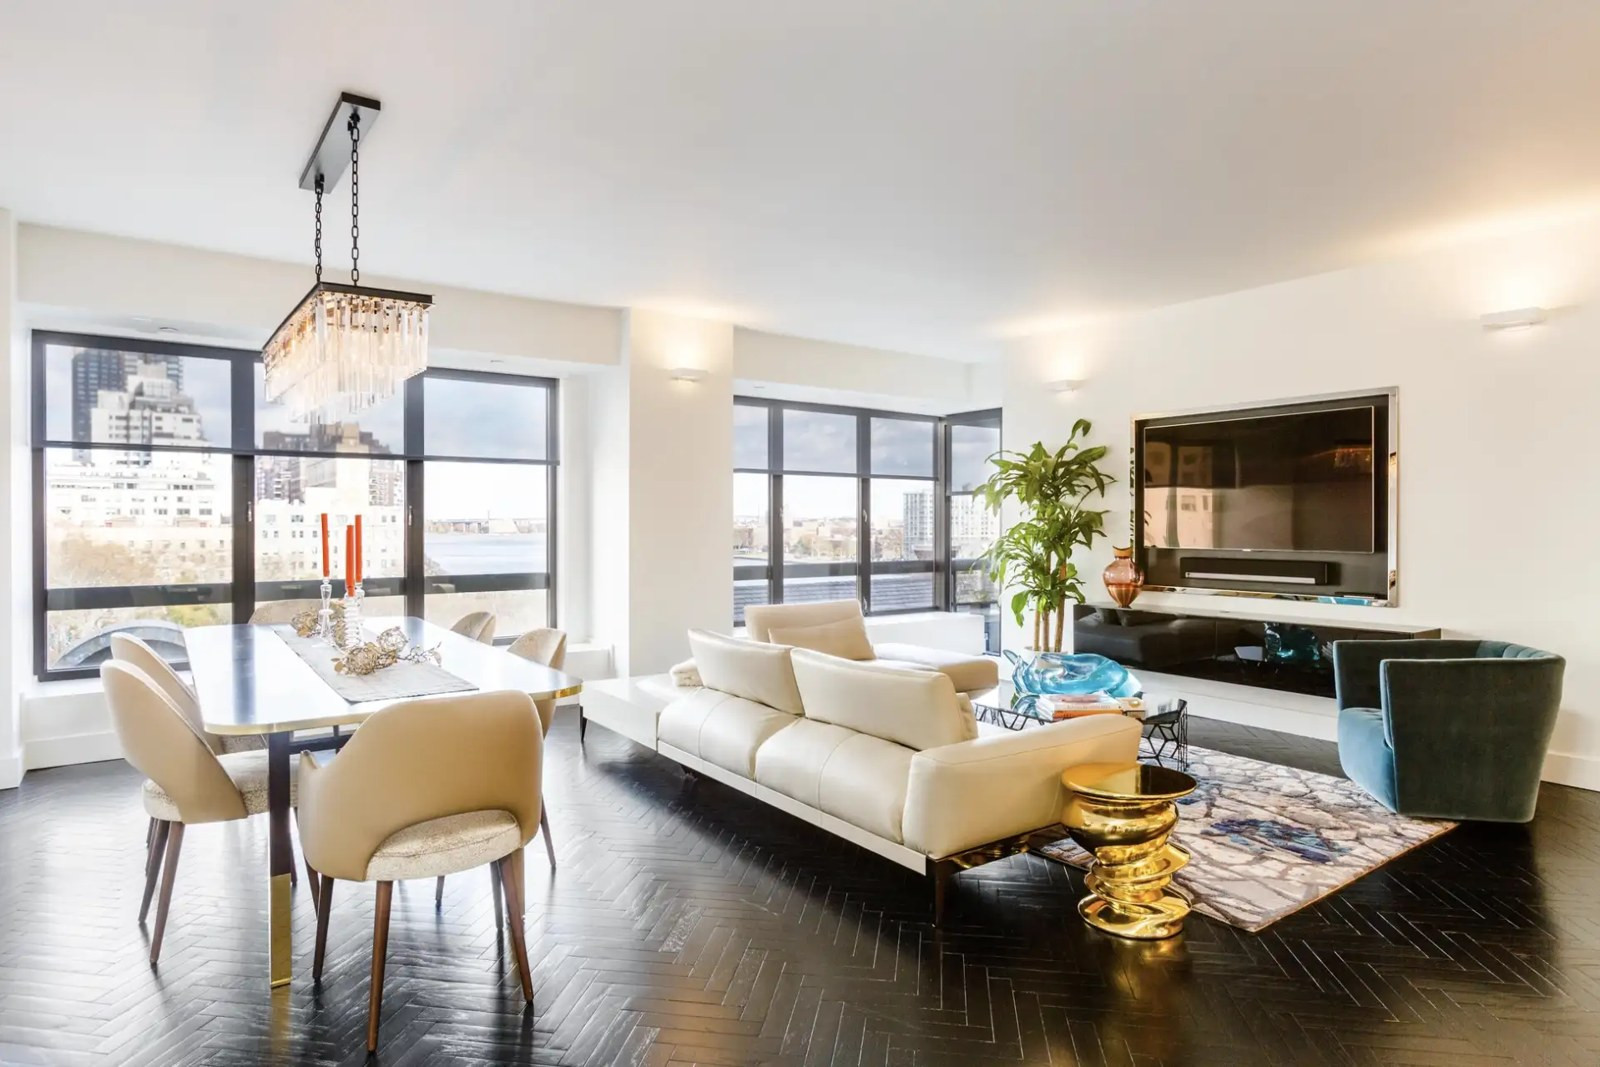
Motorized shades, a recessed TV, and hidden speakers in a Manhattan living room. All of it was wired before the walls closed.
What the Low Voltage Wiring Costs When the Walls Are Open
National figures are national averages and NYC runs higher. HTA figures are what our own New York installs run in 2026. We charge MSRP on any equipment we supply.
💡 Pro Tip: Photograph Every Wall Before It Closes
Ask your GC for a photo of every wall with the wire in it before the drywall or plaster goes on. Label both ends of every cable. Six months later, when someone asks where the spare Cat6a to the bedroom lands, the photo answers in ten seconds.
Renovation on the calendar? We will walk the plans with your architect and mark every wire, free.
Book a Free Prewire WalkthroughEquipment Locations: Where Should the Racks and Smart Technology Live?
All nine wires end in the same place. That is a closet, a cabinet, or a piece of millwork with equipment racks inside. It holds the router, the network switch, the streaming boxes, the audio amps, the lighting control processor, and the shade power panel. Builders call this the head end. Pick that spot on the plans early. It needs its own 20 amp circuit, a vent or a quiet fan, and about 24 inches of depth. A hall closet with a louvered door works. So does a custom cabinet in the media room.
Keep the equipment location central. Cables get shorter, wireless access points land where they should, and the installer's day gets cheaper. If the only option is a far corner, that is fine, but budget for longer lines. Small racks fit a closet; larger systems with lighting panels need a dedicated space.
Timing: When to Bring in the Smart Home Installer
The renovation timeline for low voltage wiring
Design phase - Share the floor plan and furniture layout with your smart home installer. TV walls, speaker spots, camera spots, lighting keypads, and shade windows get marked on the plan now.
Rough-in - Low voltage wiring goes in after electrical rough-in and before insulation and drywall. Your GC or the builders schedule a one or two day window for it.
Before plaster or drywall - Walk the space with the installer. Photograph and test every line. Confirm the equipment location has power and a path for cooling. Keep the photos with the project documentation.
After paint - Trim out: keypads, speakers, access points, cameras, TVs, and the equipment racks. This is when the system comes together and the whole home gets connected.
⚠️ Building Rules
Co-op and condo boards set work hours. They want licensed and insured trades. And the alteration agreement closes on a fixed date. Put the low voltage prewire in the package from the start. Adding it after the board signs off can mean a second approval.
What Happens If You Skip the Prewire and Go Wireless
You will still get a smart home. It will cost more, look worse, or both. Wireless is the fallback for everything. Wireless access points that should have been wired become a mesh kit fighting plaster. Wireless lighting switches need batteries and drop offline. Speakers that should have been in the ceiling become boxes on shelves. The TV wall gets a surface raceway or a hole cut in fresh plaster, and the painter comes back. We see this every month, and it is always more expensive than the wire would have been.
“I spent years watching great products get installed badly. The equipment matters - but the installer matters more.”
- Mark Feinberg, Founder of Home Theater Advisors
Common Questions About Smart Home Wiring in an Apartment
What wiring is required for a smart home?
Network cable (Cat6a) to TVs, access points, keypads, cameras, and the front door; in-wall speaker wire; a subwoofer line; shade power; and conduit pathways. All of it lands at one equipment location. That is the whole smart home prewire checklist above.
What is low voltage wiring in a renovation?
Network, speaker, lighting control, and shade wiring that carries data or small amounts of power, as opposed to the 120 volt electrical wiring an electrician installs. It goes in after electrical rough-in and before the walls close.
Should I run Cat6 or Cat6a?
Cat6a. It supports 10 gigabit speeds over a full 100 meter line and costs a little more per foot. In a renovation you only get one chance, so run the better cable.
Can speaker wire and power share the same hole?
No. Keep low voltage cable separated from line voltage and cross them at right angles when you must. Your installer and electrician coordinate this during rough-in for safety.
Do I still need wiring if everything is wireless now?
Yes. Wireless devices still need a strong wired network behind them, and lighting, audio, and video all perform better on wire. Wireless is the plan B, not the plan. A complete wiring plan also makes future service and maintenance easier, because the installer can see and test every line.
Do I need conduit if I already ran HDMI?
Yes. HDMI cables fail and standards change. A pathway means the next cable pulls through without touching the wall.
Is it too late if drywall is already up but not painted?
It is harder, not impossible. Holes at this stage are easy to patch before paint. Call now, not after the painter leaves.
Planning a renovation in Manhattan, Brooklyn, or Queens? Send us the plans. We will mark every wire on the plan, coordinate with your GC and builders, and hand you a free itemized proposal. Curious what the full system costs? Read our guides to home theater installation cost and whole-home audio cost.
About the Author
Mark Feinberg, Founder & CEO of Home Theater Advisors. Before founding HTA in 2011, Mark ran Product Management at ADI, one of the largest AV distributors in the country. He is a Certified Control4 Smart Home Dealer and CEDIA member, and HTA has earned multiple Houzz Best of Design Awards. Mark holds a BA from Dartmouth and an MBA from Duke's Fuqua School of Business. He lives in Manhattan with his family.
Wire It Once. Wire It Right.
Send us your renovation plans and we will mark every run before the walls close. Free walkthrough, itemized proposal, Upper East Side based.
| Call (646) 450-1060 → | Book a Free Consultation |
